How to Rewire a Trailer

Rewiring a Trailer in 8 Simple Steps
Rewiring a trailer involves removing the old wiring and trailer lights, routing the new wiring harness through the trailer frame, installing new trailer lights and testing the lights.
This guide walks through the steps required for how to rewire trailer lights. It can be used for how to rewire a utility trailer, boat trailer and others. The installation is based on the CURT trailer light kit #53540 and is used for boat trailer wiring. Steps may vary depending on the individual trailer.
- Sketch a trailer wiring diagram
- Remove the old trailer lights and wiring
- Lay out the new wiring
- Mount the ground wire
- Install the marker lights
- Clip the wires onto the frame
- Install the taillights
- Test the trailer lights
Rewiring a Trailer Video
How to Rewire a Trailer Step by Step
Step 1: Sketch a diagram of your trailer wiring
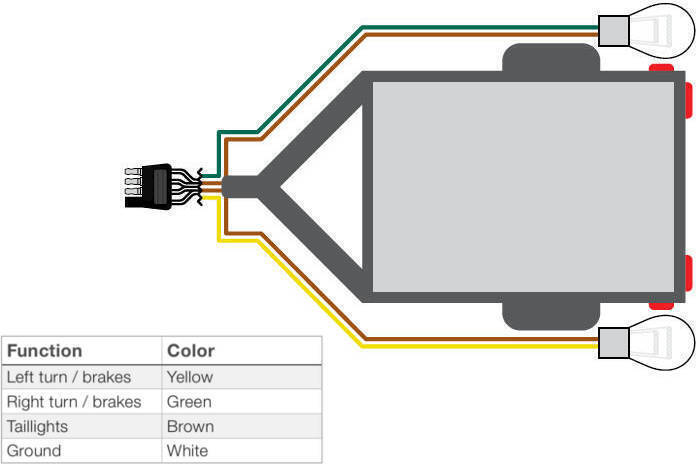
On a piece of paper, create a simple sketch of your trailer like the one pictured here. Diagram the layout of the various wires through the frame, labeling the color of each wire.
When it’s time to install the new trailer wiring and rewire trailer lights, you can reference this sketch as a guide. The wiring diagram shown here is for 4-pin trailer wiring.

Step 2: Remove the old lights and wiring
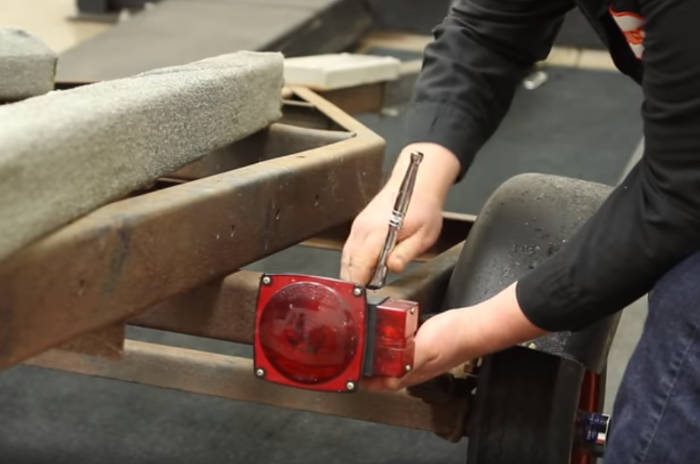
Remove the old trailer lamps and running lights by unbolting the hardware attaching them to the frame. Then, cut the wires connected to the lights.
Unclip the wiring from the trailer frame, working your way from the back of the trailer to the front. Once unclipped, pull the wiring out at the front of the trailer, near the tongue.
Tip: if the wiring passes through an enclosed portion of the tongue, you can use the old wires as a lead to easily pull the new wires through.

Step 3: Lay out the new wiring
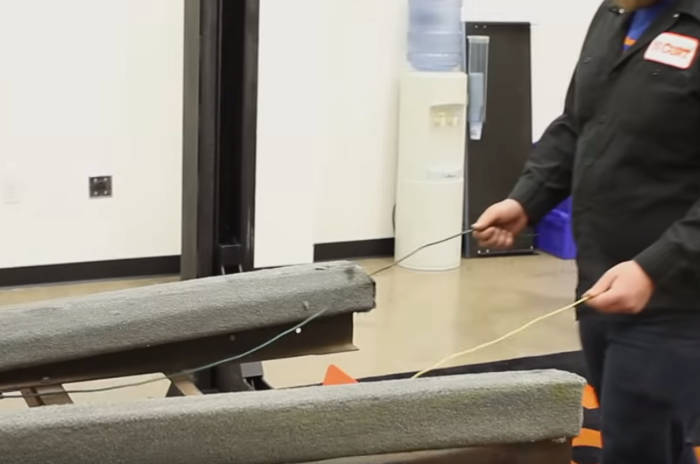
Route the new trailer wiring through the frame to the back of the trailer.
Refer to the diagram you previously sketched as a guide. The yellow and brown wires should be routed to the driver side, and the green and brown wires should go to the passenger side. The white wire will remain near the trailer tongue.
Make sure you maintain an equal length of wire on each side of the trailer, and leave plenty of extra wire at the front for plugging into your vehicle.

Step 4: Mount the ground wire
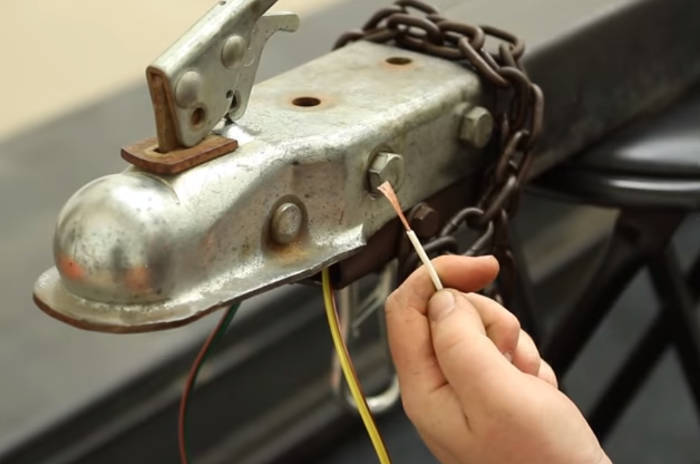
Strip the end of the white ground wire. Then, remove the ground bolt or existing coupler bolt previously used for the old ground wire. Wrap the exposed copper wiring around the bolt and tighten it back into place.
You can also use a ring terminal to attach the wire to the bolt.
Make sure the ground wire is tucked up under the coupler to remain out of the way and safe from damage.

Step 5: Install the marker lights
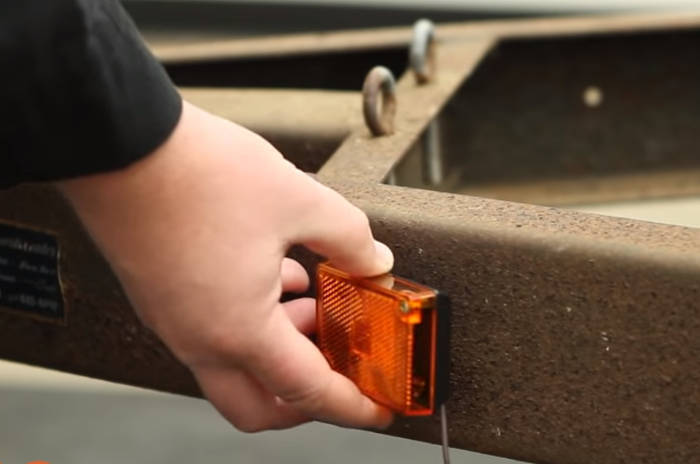
Mount the new trailer marker lights with the provided bolts. Use the existing holes from the old markers if possible. If the holes do not line up, you may need to drill new ones.
With the lights bolted on, splice in the marker light wires to the trailer wiring. The driver-side marker light power wire will splice to the yellow and brown wires. The passenger-side marker will splice to the green and brown wires.

Step 6: Attach the wires to the frame
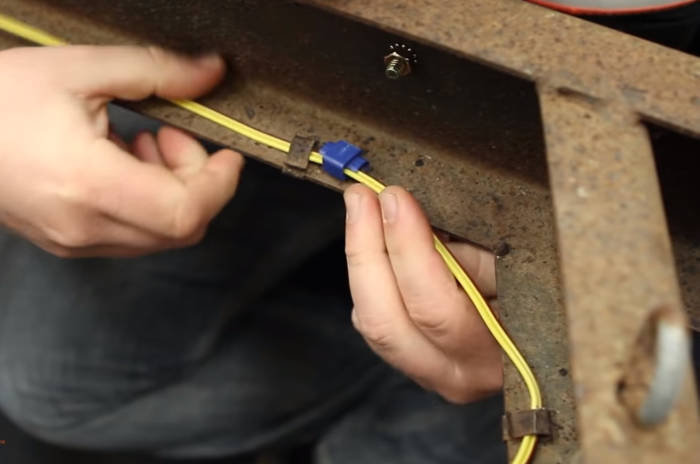
Clip the trailer wires onto the frame, moving from front to back. Make sure the trailer wiring stays fairly taut and sheltered by the trailer frame to protect them from moving parts and road debris.

Step 7: Install the taillights
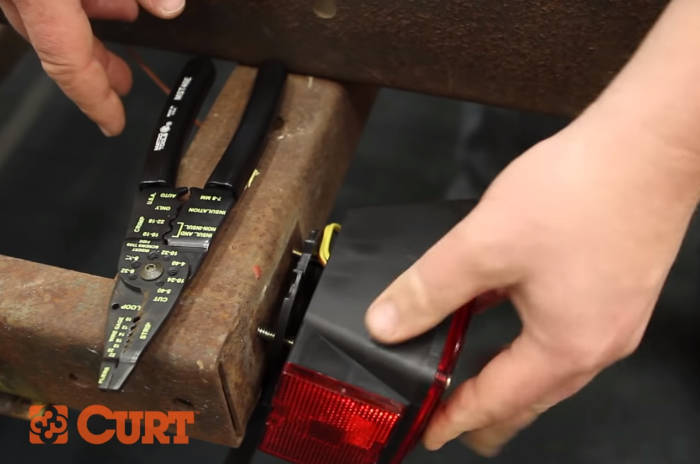
Before mounting the trailer taillights, take note that each taillight may be specific to the driver and passenger sides.
With each tail light in its proper position, trim the trailer wiring and strip the ends. Insert the wires into their appropriate connection points – yellow and brown for driver side, and green and brown for passenger side.
With the wires securely connected bolt the tail lights onto the trailer frame.

Step 8: Test your lights
After rewiring a trailer -- whether a boat trailer, utility trailer or otherwise -- make sure your new trailer lights are functioning properly. Connect the trailer to your vehicle and test to see if the lighting functions are in sync.
Test the brake lights, running lights, right turn signal and left turn signal. If any of the lights are not working properly, make sure your vehicle 4-way flat connector is carrying a signal, using a CURT electrical tester.

FAQs
What is the color code for trailer wiring?
Green is the right turn signal and right brake light.
Yellow is the left turn signal and left brake light.
Brown is the taillights.
White is the ground wire.
How do you wire a trailer light?
You can wire a trailer light by inserting the brown wire into the taillight connection point. If it is driver-side trailer light, insert the yellow wire into the turn signal / brake light connection point. If it is a passenger-side trailer light, insert the green wire into the turn signal / brake light connection point.
How much does it cost to rewire a utility trailer?
Having a utility trailer rewired can cost anywhere from $50 to $200, depending on labor costs and the design of the trailer.
How do I fix my trailer lights not working?
To fix broken trailer lights, begin by checking the ground. Many trailer light wiring problems occur because the wires are not properly grounded. Next, test your vehicle wiring plug to make sure it is working.
If your trailer wiring is damaged or trailer lights are broken, you may wish to rewire the trailer with new wiring and lights.
Trailer lights are an integral part of towing. Not only do they provide a necessary element of safety on the road, but they are also required by law. Compared to the rigid design of a trailer hitch, however, trailer tail lights and brake lights can be fragile and broken if accidentally bumped with enough force. CURT offers both trailer lighting kits and combination trailer lights to get you back on the road sooner.
CURT trailer light kits come with everything you need to rewire your trailer and have it ready to hitch up to your vehicle. These kits include combination lights, marker lights, a wiring harness and frame mounting clips to easily route wiring through your trailer to the coupler. CURT trailer lighting kits are designed to work with trailers up to 80” wide. Whether you are building your own trailer or rewiring an older trailer, these kits make the process simple. With each kit, we include easy-to-follow instructions, and provide an online video that shows the complete process of how to rewire a trailer. Use a CURT trailer light kit for your boat trailer, motorcycle trailer, snowmobile trailer, livestock trailer, utility trailer or even for your camper.
If your trailer wiring is still in good condition and you simply need a replacement lamp, CURT has combination lights in several different shapes and sizes. Choose from the submersible option or the surface-mounted style. CURT combination lights are made with quality molded housing and feature lenses with phosphor bronze contact for a consistent connection. Hooking up a new combination light is quick and simple, and with CURT, you can trust that your new electrical component is built with quality and care.
 ARIES
ARIES  CURT
CURT  LUVERNE
  UWS
UWS 


