How to Adjust Trailer Brakes
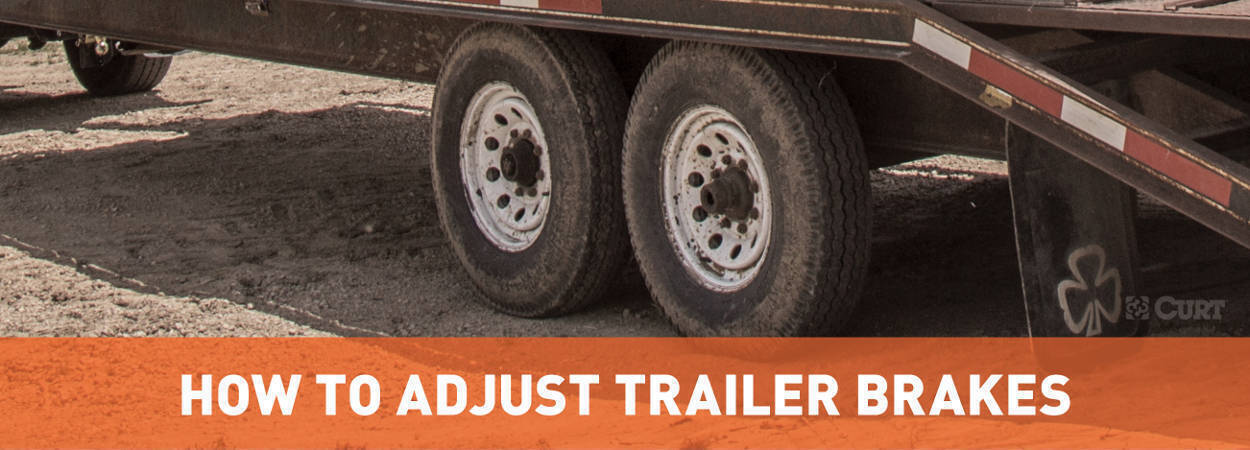

Adjusting Electric Trailer Brakes in 5 Steps
Adjusting your trailer brakes is important for towing safely. This guide walks through how to adjust electric trailer brakes step by step, including jacking up the trailer, accessing the brakes, using an adjustment tool and testing for tire lockup.
Note, it is recommended that you check and adjust your trailer brakes every 3,000 miles or 3 months.
- Jack up the trailer
- Remove the brake cover
- Tighten the adjustment wheel
- Make sure the tire spins freely with slight scraping
- Replace the cover and torque the tire nuts
How to Adjust Trailer Brakes Video
Use your smartphone to control your trailer brakes! Check out Echo®
How do electric trailer brakes work?
Electric trailer brakes use electrical signals, electromagnets and brake pads to help the trailer stop while towing. The built-in electromagnets draw power from the vehicle to accentuate or squeeze the brake pads. As power increases, the electromagnets apply more stopping force.
To regulate the amount of power to the electric trailer brakes a brake control is used – an electronic device that allows the driver to monitor and control the trailer brakes.
How electric trailer brakes work:
(vehicle battery + brake control) x electromagnetic brake pads = trailer deceleration


How to Adjust Electric Trailer Brakes: Step by Step
Step 1: Jack up the trailer
Begin by chocking the trailer wheels and jacking up one side of your trailer. Remember to place the jack under the trailer frame, not the axle.
Raise the jack until the wheel is able to spin freely. Then, secure a jack stand under the frame for additional support.
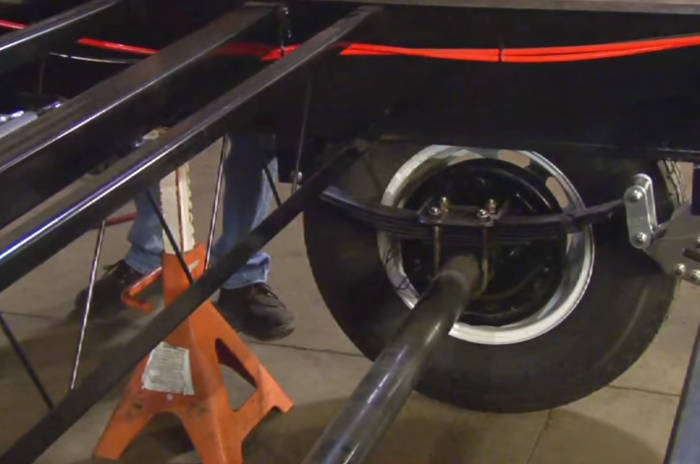

Step 2: Remove the brake access cover
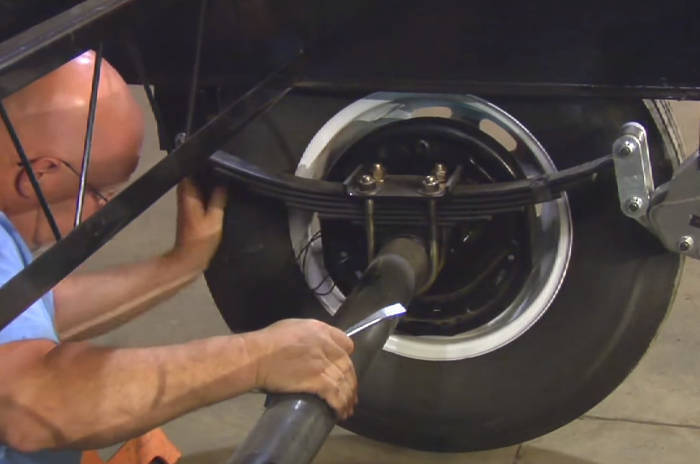
Most trailers have a cover, cap or plug that needs to be removed to access the trailer brakes. There may be one or multiple covers. They are typically made from plastic or rubber and can be pried out with a flathead screwdriver.
Carefully remove the cover to access the brake chamber and adjustment wheel.
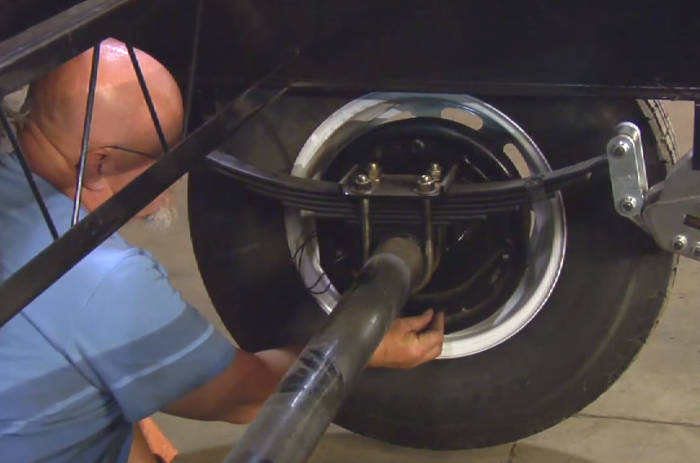

Step 3: Tighten the adjustment wheel
Using a brake spoon, brake adjustment tool or flathead screwdriver, turn the star wheel adjuster inside the brake chamber. The adjuster is typically located below the brake drum. Push down on the brake spoon handle so the adjuster wheel is pried upward. This will tighten the brake pads or shoes.
Turn the wheel one click at a time. Spin the tire between each click to make sure it spins freely.
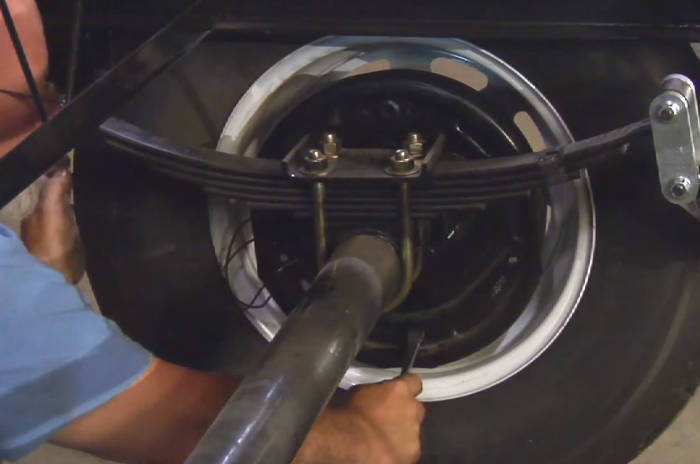

Step 4: Stop when the tire begins to drag
Once the trailer tire becomes difficult to turn, stop tightening the adjuster. Pry upward on the adjustment tool to loosen the adjuster wheel if necessary.
The tire should spin freely but still have a slight scraping sound or slight drag, indicating that the trailer brake pads are properly engaged.

Step 5: Torque and repeat on the other side
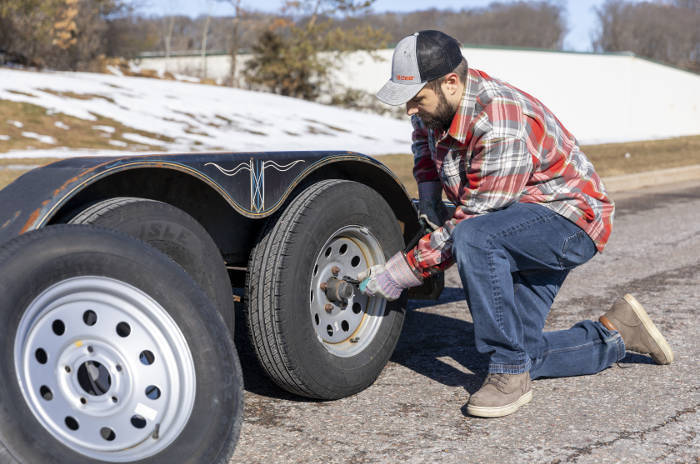
Replace the cover on the trailer brake access point. At this time, it is also a good idea to check the torque on your trailer tire nuts. Follow a star pattern, and make sure each one is torqued to the manufacturer’s specifications.
Then, remove the jack stand and safely lower the trailer. Finally, repeat this process on the other side.

Trailer Brake Adjustment FAQs
How do you adjust trailer brakes?
Trailer brakes can be adjusted by turning the star wheel adjuster with a brake spoon. Prying the spoon down will tighten the brake pads against the brake drums. Prying upward will loosen the pads. The star wheel adjuster should be tightened so that the trailer tire turns freely and a slight scraping sound is heard.
How often should trailer brakes be adjusted?
Trailer brakes should be adjusted every 3,000 miles. Depending on how often you tow your trailer, this translates to about once every 3 months.
Which way do you turn the brake adjuster?
When adjusting trailer brakes, to tighten the trailer brakes, turn the adjuster wheel by prying it upward with a brake adjustment tool or flathead screwdriver. This means pushing down on the adjustment tool handle. To loosen the trailer brakes, turn the adjuster back, prying it downward.
 ARIES
ARIES  CURT
CURT  LUVERNE
  UWS
UWS 


