How to Use a Tow Bar
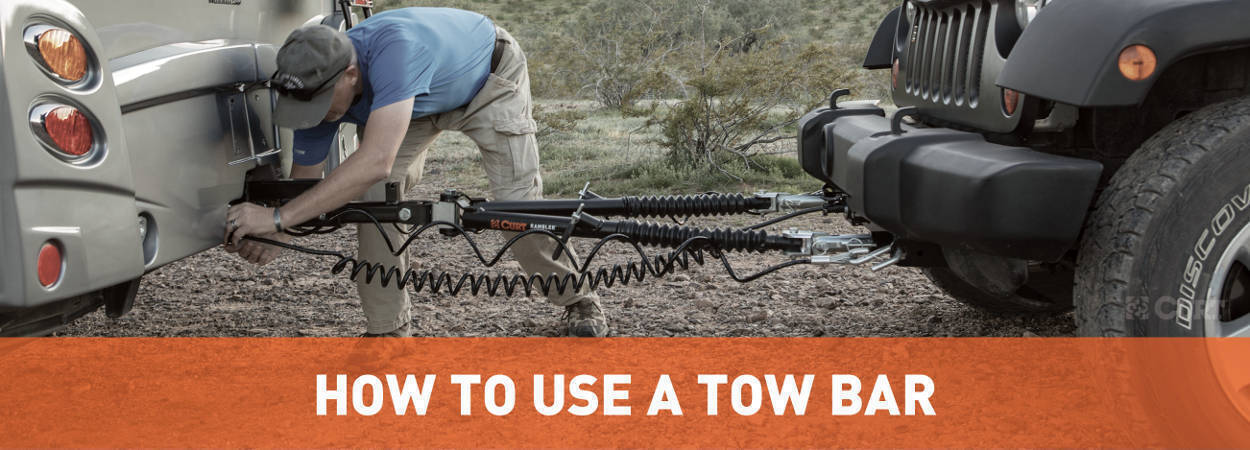

Tow Bar Installation and Hookup in 9 Steps
Dinghy towing is an essential part of the RV experience. Knowing the ins and out of how to use a tow bar should be second nature.
This guide provides step-by-step instructions for how to hook up a tow bar, including how to properly park the vehicles, installing the tow bar on the RV, connecting the tow bar arms and prepping the dinghy vehicle for flat towing.
Please note, these instructions are merely a general guideline for installation. Consult the manufacturer’s recommendations for your own specific tow bar.
- Park on a level surface
- Check the height between the RV hitch and base plate
- Mount the tow bar on the RV
- Park the dinghy vehicle behind the RV
- Attach the tow bar arms
- Prep the dinghy vehicle for towing
- Engage the tow bar latches
- Attach the safety cables
- Plug in the wiring harness
How to Use a Tow Bar Video

What is a tow bar?
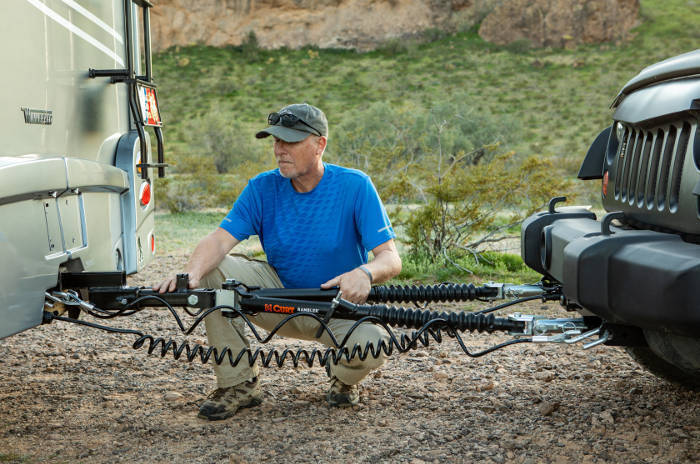
A tow bar is a device that connects a vehicle to an RV for flat towing.
It uses a shank, pivoting arms and attachment tabs to couple the two vehicles together.
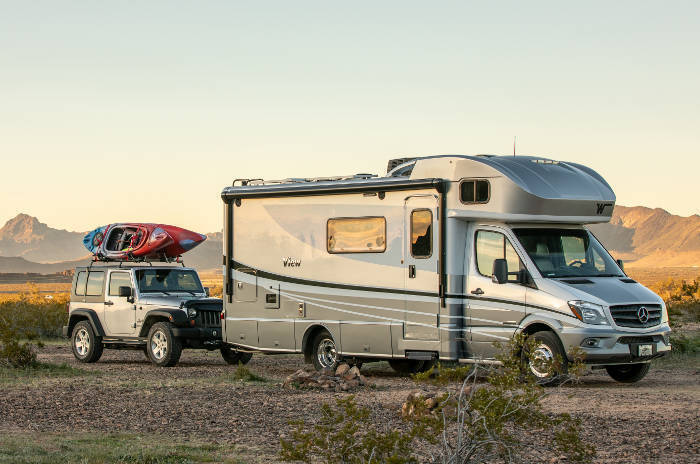
The towed vehicle is called the dinghy, and it becomes a sort of trailer when connected to the RV.
How does a tow bar work?
A tow bar connects from the front of the dinghy vehicle to the back of the RV. The RV pulls the dinghy, and the tow bar pivots, allowing for smooth towing.
The dinghy vehicle must be equipped with base plates or brackets on the front end, and the RV must have an RV hitch.
The tow bar goes between the dinghy vehicle and the RV, mounting into the RV trailer hitch and attaching to the vehicle base plate.

Step by Step Tow Bar Setup
Step 1: Park on a level surface
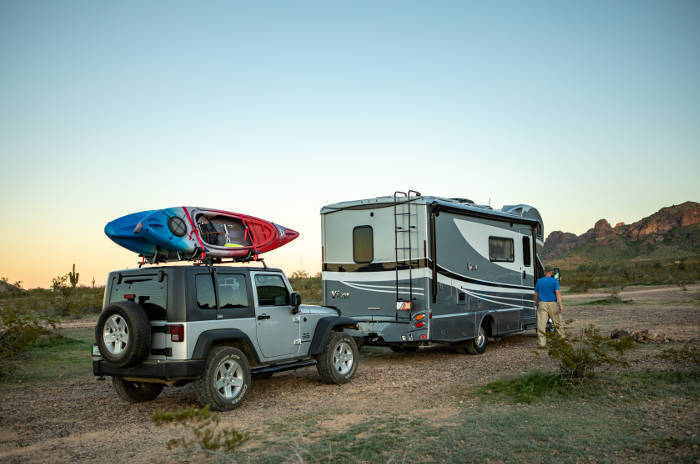
Begin by parking your RV on a flat, level surface with plenty of space to pull your soon-to-be-towed vehicle up behind it.
Put the RV in park and apply the emergency brake.

Step 2: Make sure the hitch and base plate heights are within 3 inches
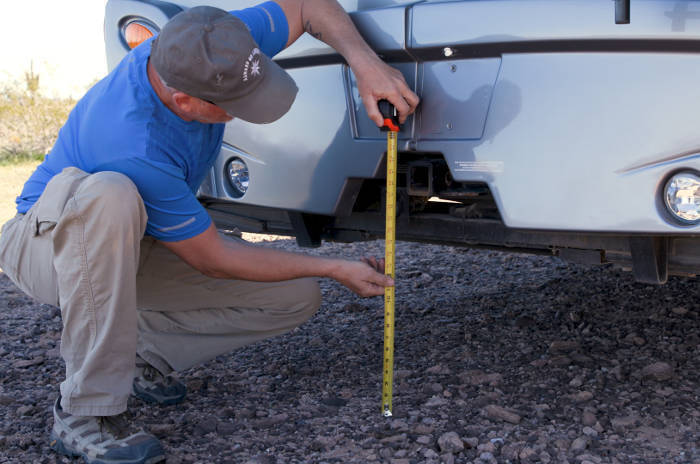
Verify that the height of the base plate attachment tabs is close to the height of the RV receiver hitch. There should be no more than a 3-inch difference.
Use a tape measure to measure from the ground to the center of the RV hitch receiver (A). Then, measure from the ground to the attachment tabs on the front end of your dinghy vehicle (B).
A - B = C
If C is greater than 3, a hitch adapter will be needed.

Step 3: Mount the tow bar on the RV
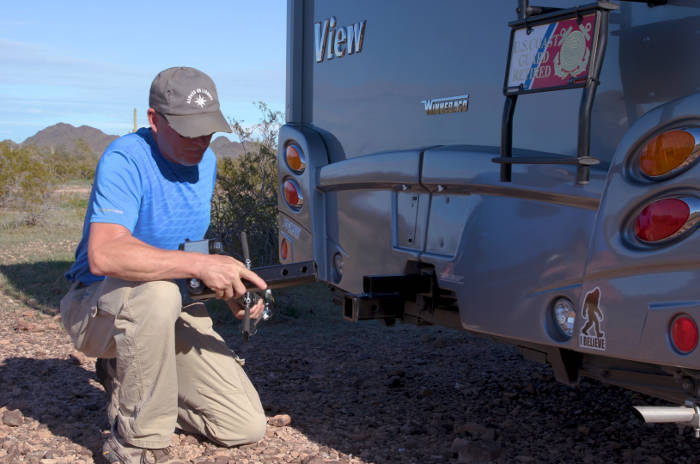
Insert the tow bar shank into the receiver on your RV hitch. Then, secure it with a pin and clip.
Some tow bars come with two or more pin holes in the shank, allowing for extra clearance if needed. Using the tow bar in the shortest position possible is recommended.
Also, fold the tow bar arms up and out of the way if possible to avoid obstructing your vehicle in the next step.

Step 4: Park your vehicle behind the RV
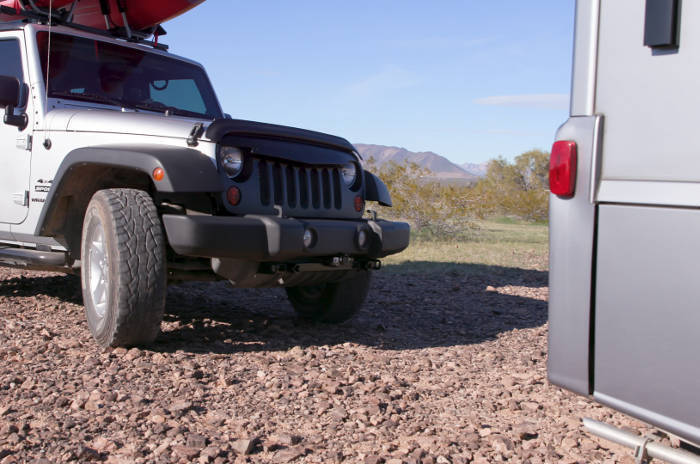
Slowly drive your vehicle up behind your RV, making sure the vehicles are as parallel with each other as possible.
When the vehicle is in the approximate dinghy towing position, stop, put the vehicle in park and apply the emergency brake.
Be careful not to drive into the tow bar. You may wish to have a friend to help watch the distance and signal when to stop.

Step 5: Attach the tow bar arms
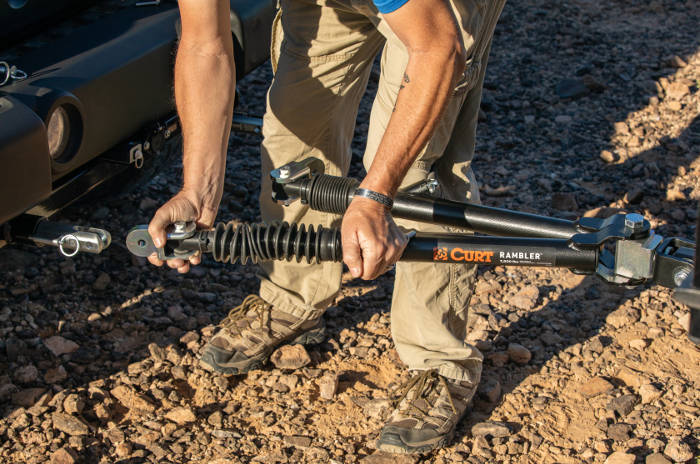
Insert the two attachment tabs into the base plate receivers on your dinghy vehicle. Then, attach the tow bar arms to the attachment tabs.
Many tow bars come with extending arms that allow for easy hookup to the tabs. Release the latch handles and extend the arms.
Once in position, secure the arm and tab connections with lynch pins.

Step 6: Prepare the dinghy vehicle for towing
With the tow bar installed, set the dinghy vehicle transmission for towing and unlock the steering wheel.
Consult your vehicle owner’s manual for proper procedures when flat towing. Most vehicles need to be placed in neutral. Others may have special requirements. Be sure to follow all manufacturer guidelines.
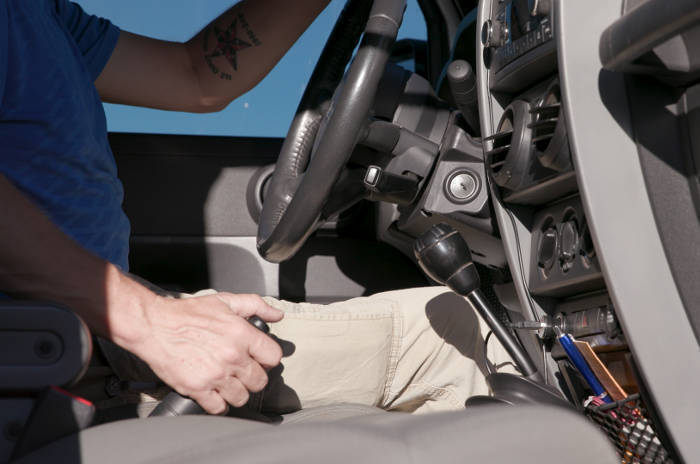

Step 7: Engage the tow bar latches
Make sure the tow bar latches are fully locked in place by pulling your RV forward very slowly. First, release the parking brake. Then, place the RV in drive, easing your foot off the brake.
As soon as the latches on the tow bar arms engage, stop. Be sure the latches on both arms lock into place before towing.
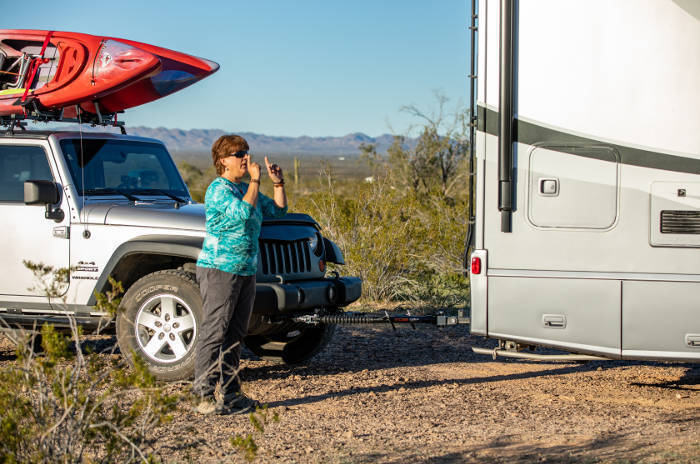

Step 8: Attach the safety cables
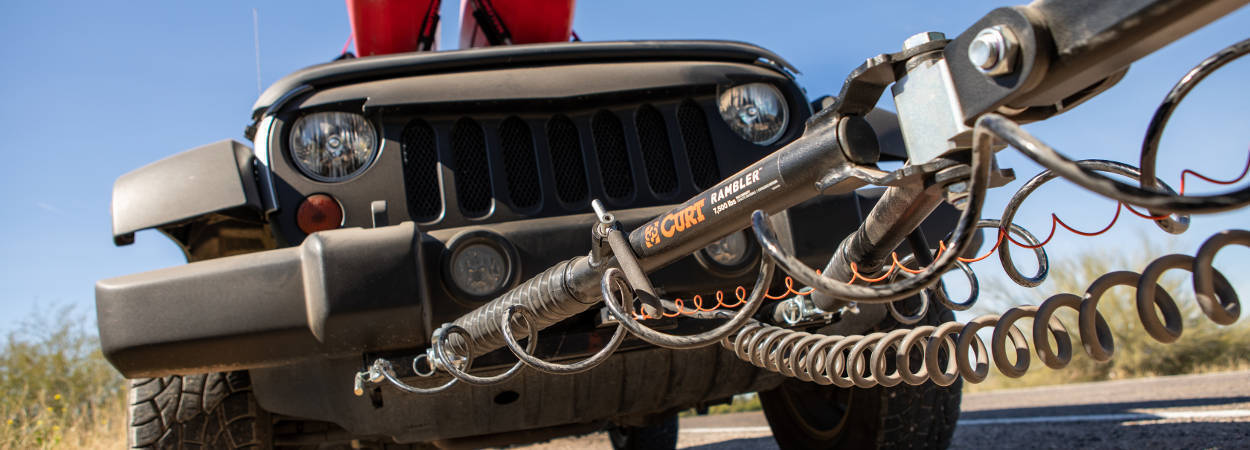
Attach the safety cables from the RV hitch safety loops to the base plate convenience links on the dinghy vehicle. The cables should be crisscrossed once, underneath the tow bar.
The cables should not be dragging on the ground while towing.
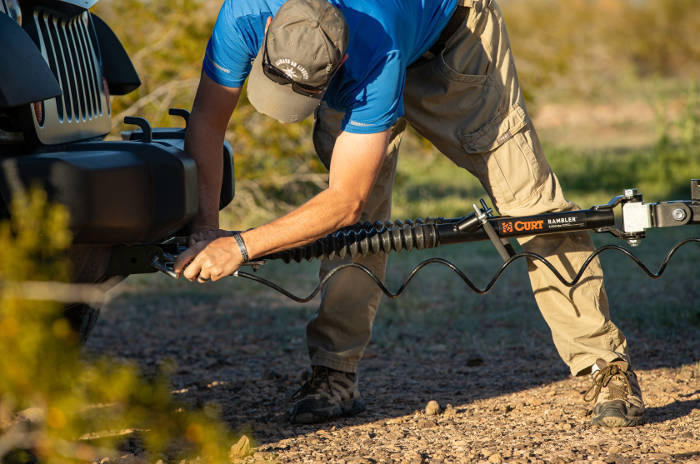

Step 9: Plug in the wiring harness
Plug the dinghy vehicle into the RV electrical socket at the rear. Most RVs come with a standard 4-way flat socket. Connect the plugs and the emergency breakaway.
Your dinghy vehicle must be equipped with RV towing lights or a dinghy tow wiring harness to synchronize the RV taillights with the dinghy taillights.
Test each lighting function before towing.

How to disconnect a tow bar
Step 1: Park on a level surface
Before attempting to disconnect your RV tow bar, make sure both vehicles are parked on a flat surface and are parallel with each other. Trying to disconnect your RV and dinghy vehicle at an extreme angle may cause the tow bar to bind.
Also, be sure to place each vehicle in park and engage the emergency brake.
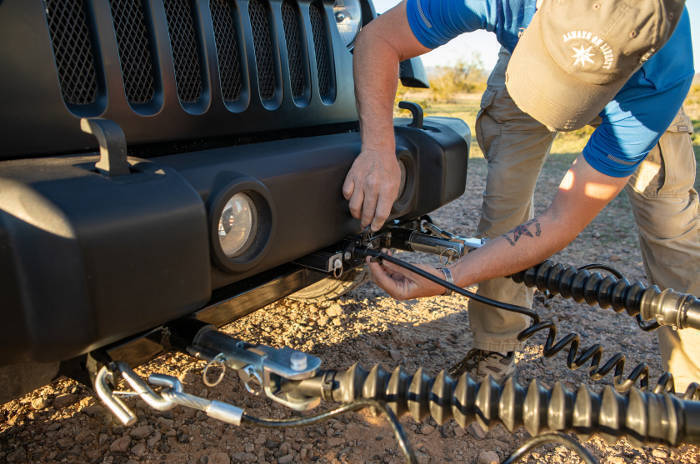
Step 2: Disconnect the wiring and cables
Unplug the dinghy tow wiring harness from the RV and store it in a safe location. Also, disconnect the breakaway.
Then, unhook the safety cables from the RV hitch and base plate attachment tabs.
Step 3: Release the tow bar arms
Pull up on the latches of the tow bar arms to release the locking mechanism. Remove the lynch pins from the attachment tabs to disconnect the arms from the base plate.
On many tow bar models, the arms can be retracted by holding the latch mechanism and sliding the arms in.

FAQs
What is the cost for tow bar installation?
Professional tow bar installation costs anywhere from $200 to $600, depending on the hourly rate of the installer and difficulty of the installation. This does not include the cost of the products. To install a tow bar, a base plate must be installed first. This typically involves some modifications to the vehicle’s front end. A base plate installation is the core of the work, while the tow bar itself is designed to be set up and taken down by the user.
For the actual cost of a tow bar base plate installation, contact a local dealer or installer for a quote.
How do you tow a car behind a motorhome?
To tow a car behind a motorhome, park the vehicles parallel with each other on a flat surface. Then, connect the tow bar, install the safety cables and plug in the wiring harness. Finally, set the car transmission for dinghy towing, following all manufacturer guidelines.
 ARIES
ARIES  CURT
CURT  LUVERNE
  UWS
UWS 


