How to Hook up a 5th Wheel Trailer
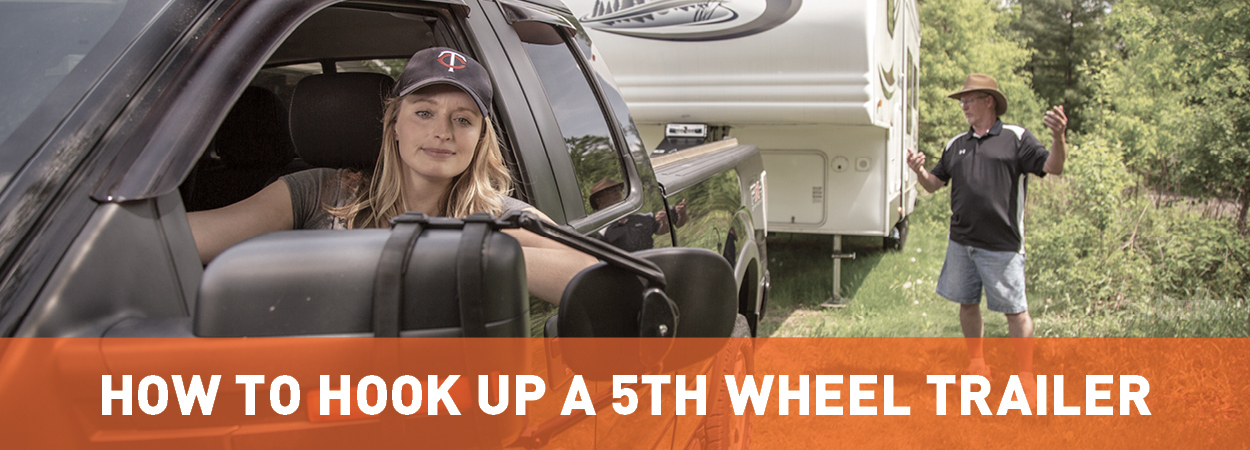

Establishing a Reliable Connection
Towing a 5th wheel camper and enjoying your vacation properly requires peace of mind. And it all starts with a reliable trailer connection.
In this guide, we will cover the seven essential steps for hooking up a 5th wheel trailer, as well as unhitching the trailer and running through a checklist of things to do before towing.
For hooking up a receiver hitch connection, check out our standard trailer hookup guide.
- Park on a level surface
- Open the 5th wheel jaws
- Slowly back up
- Adjust trailer jacks
- Engage the 5th wheel jaws
- Test the connection
- Final 5th wheel checklist
5th Wheel Hook Up Video
Need help installing a hitch? Check out our 5th wheel installation guide
7 Steps for a 5th Wheel Hook Up
Step 1: Park on a level surface
Begin your 5th wheel RV hookup by making sure your truck and trailer are parked on a level and sturdy surface. This will ensure a solid king pin connection and make it easier to back your truck up to your trailer.
Chock the trailer wheels for added stability.
Note, if this is your first time hooking up with a new 5th wheel hitch, you need to make sure your hitch is set at the correct height. The minimum height between your truck bed walls and the trailer is 5-1/2".
Not sure which hitch you need? Check out our 5th wheel selection guide
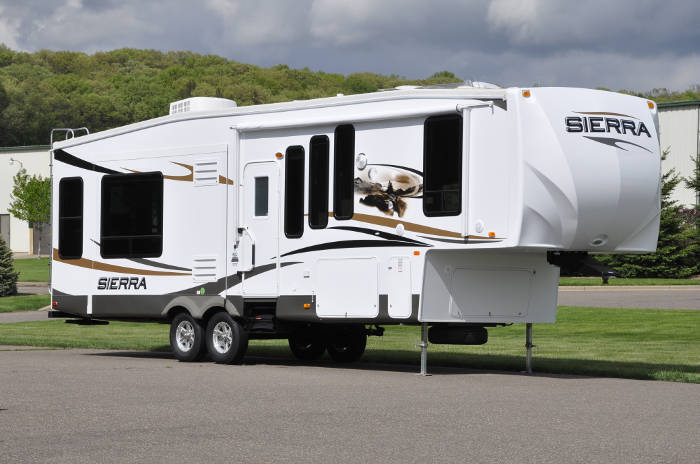

Step 2: Open the 5th wheel jaws
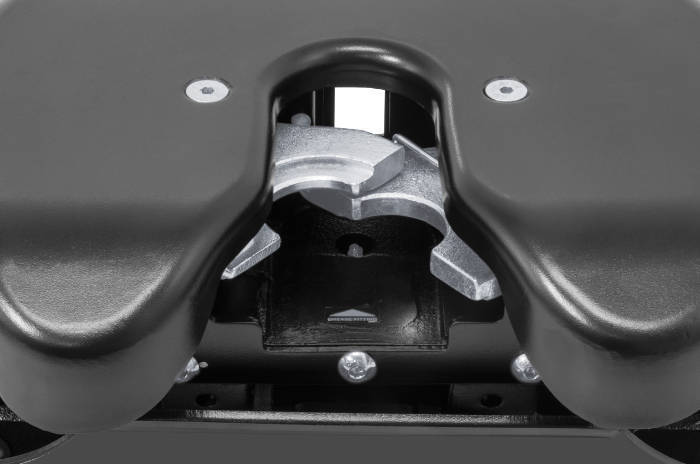
Place the hitch in the ready-to-couple position by opening the jaws or retracting the locking bar. This is usually done by pulling the side handle and setting it in the open position.
Also, install a lube plate over the trailer kingpin to protect the hitch head and maintain a smooth connection. High-pressure grease can also be used, applying it directly to the 5th wheel head.

Step 3: Slowly back up
Lower the pickup truck tailgate and slowly back your truck up to the king pin box of the trailer. Make sure no one is standing near the king pin.
To make it easier, we recommend inviting a friend to help you back up. Have the person stand off the side, even with the front of the trailer. Agree on signals for forward, backward, right and left.
When the 5th wheel hitch head is roughly 4” from the king pin, stop the truck and place it in park.


Step 4: Adjust trailer jacks
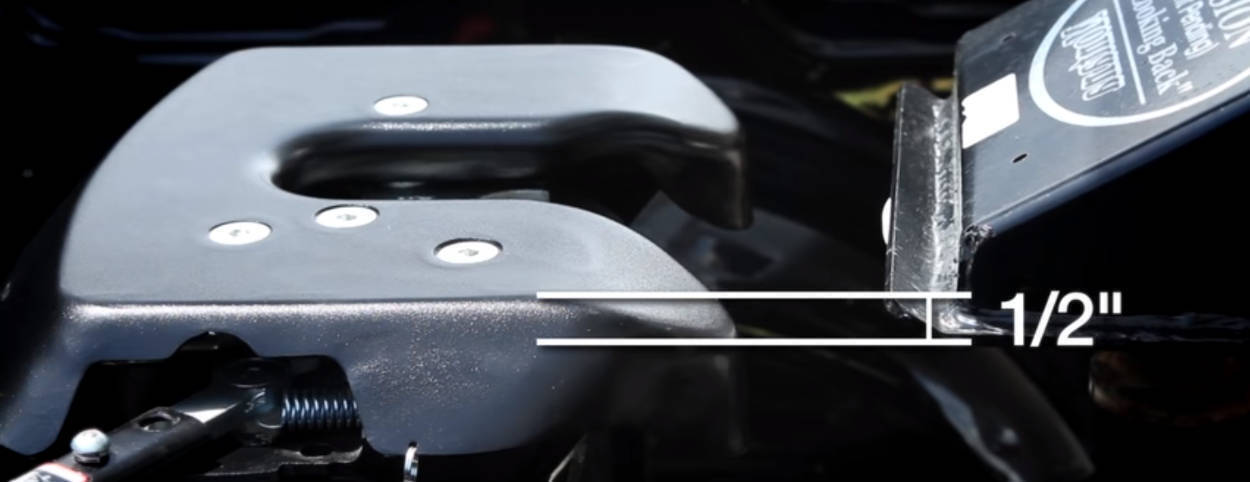
Adjust the trailer jacks up or down so that the 5th wheel hitch plate is a little higher than the king pin box. The bottom of the king pin box or lube plate should be 1/2” below the top of the 5th wheel head. This allows the pin box to ramp up onto the hitch plate.
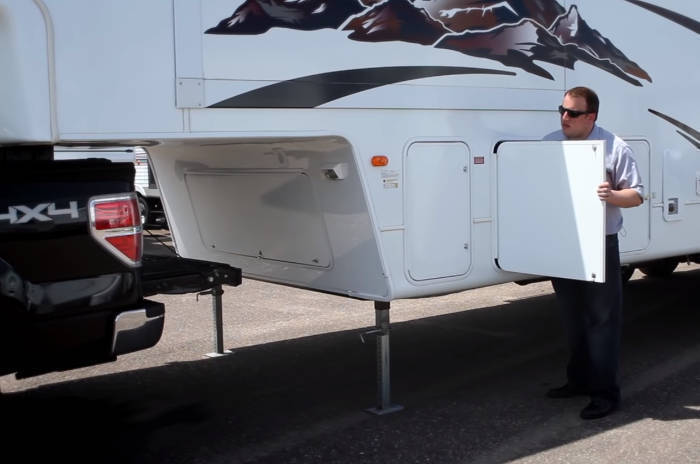

The 5th wheel head should be 1/2" higher than the king pin box.

Step 5: Engage the 5th wheel coupler
Continue to slowly back up until the king pin is fully seated within the 5th wheel head. When it is, place the vehicle in park and apply the emergency brake.
Next, visually inspect the connection to make sure the 5th wheel jaws are fully locked and engaged. Some hitches may require you to manual engage the jaws or lock bar, while others may engage automatically.
With the jaws engaged, insert the safety pin into the handle to make sure the jaws stay secure.
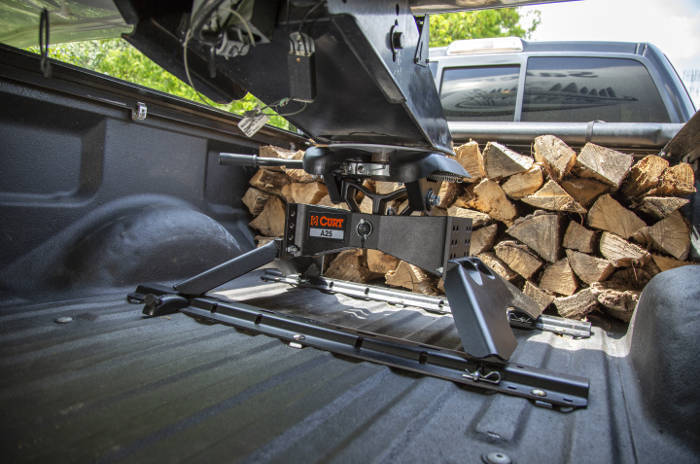

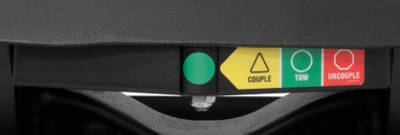

Helpful Hint: Most CURT 5th wheel hitches come with a built-in coupling indicator to clear show the coupling status, whether the connection is coupled, uncoupled or ready to couple.
Step 6: Test the connection
Put your foot on the brake pedal, remove the emergency brake and place the truck in drive. Then, press the manual activation on your trailer brake controller.
Slowly let off the brake pedal and allow the truck to lightly tug at the trailer. If resistance is felt, the hitch connection is secure. If not, you will need to repeat the hookup process, starting again at step 2.
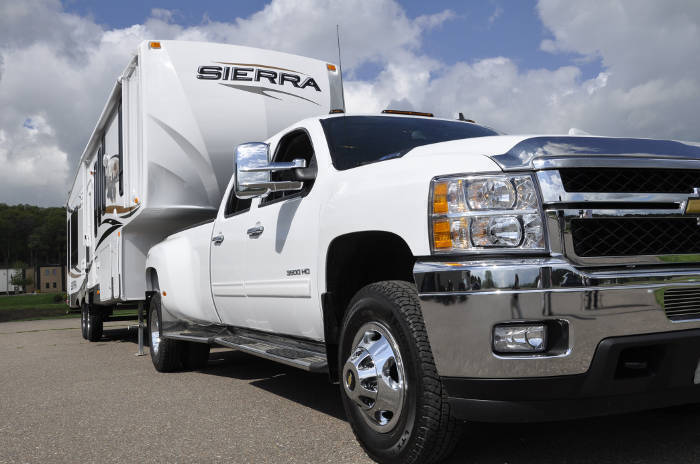

Step 7: Final 5th wheel checklist
With the truck in park, run through the following checklist to make sure your 5th wheel camper hook up is ready for towing:
- Make sure the handle safety pin is installed
- Install 5th wheel safety chains
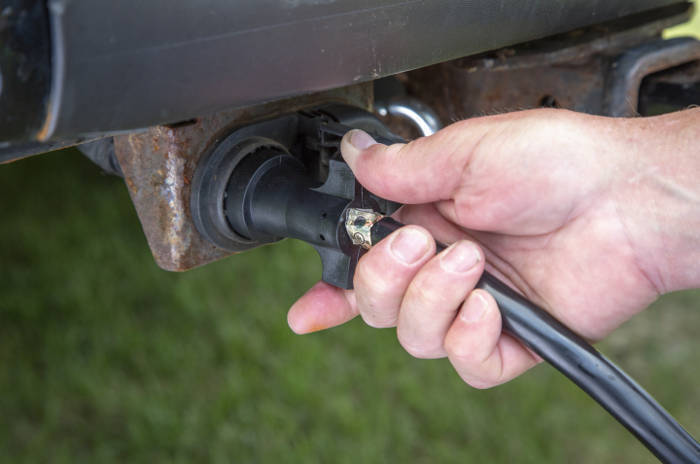
- Make sure the trailer wiring harness is plugged into your truck
- Attach the electric trailer breakaway switch
- Close the tailgate
- Remove the wheel chocks
- Fully retract the trailer jacks
- Test the trailer lights


How to Unhitch a 5th Wheel Trailer
- Park on a level surface. To disconnect your 5th wheel RV setup, begin by parking on a flat surface. Place the truck in park with the emergency brake engaged. Chock the wheels and disconnect all harnesses, chains and lanyards.
- Raise the trailer. Drop the trailer jacks and lower the truck tailgate. Then, extend the trailer lifting jacks. Be sure to only lift the trailer enough to remove the weight from the trailer on the 5th wheel skid plate. It is important that you don’t create more than a 1/16” gap between the 5th wheel skid plate and trailer skid plate, as this can cause damage to the hitch and trailer.
- Inch the truck backward. Disengage the emergency brake and place your foot on the brake pedal. Then, put the truck in reverse. Slowly inch the truck backward to reduce and remaining pressure on the king pin connection and 5th wheel jaws. The king pin should be all the way at the back of the hitch head opening. Put the truck in park and apply the e-brake again
- Unlock the hitch. Remove the handle safety pin and unlock the 5th wheel jaws or locking bar with the handle. Note, you should never attempt to uncouple with the jaws engaged and the handle in the unlocked position.
- Slowly drive forward. Finally, disengage the e-brake and place the truck in drive. Slowly drive forward, away from the trailer, making sure the connection is free.
 ARIES
ARIES  CURT
CURT  LUVERNE
  UWS
UWS 


